Create an Active-Active database
Shows how to create an Active-Active database
| Redis Cloud |
|---|
Active-Active databases store data across multiple regions and availability zones. This improves scalability, performance, and availability, especially when compared to standalone databases. See Active-Active Redis for more information.
To deploy Active-Active databases in Redis Cloud, you need a Redis Cloud Pro plan that enables Active-Active Redis and defines the regions for each copy of your databases.
Active-Active databases consist of multiple copies (also called instances) deployed to different regions throughout the world.
This reduces latency for local users and improves availability should a region fail.
Redis Cloud maintains consistency among instances in the background; that is, each copy eventually includes updates from every region. As a result, memory limit and throughput increase.
Create an Active-Active database
Before creating a Redis Cloud database, you need to create an account.
To create a database in your Redis Cloud account:
-
Sign in to the Redis Cloud console.
-
Select the New database button.

This displays the Create database screen.
-
Select the type of subscription you need. For this guide, select Pro.
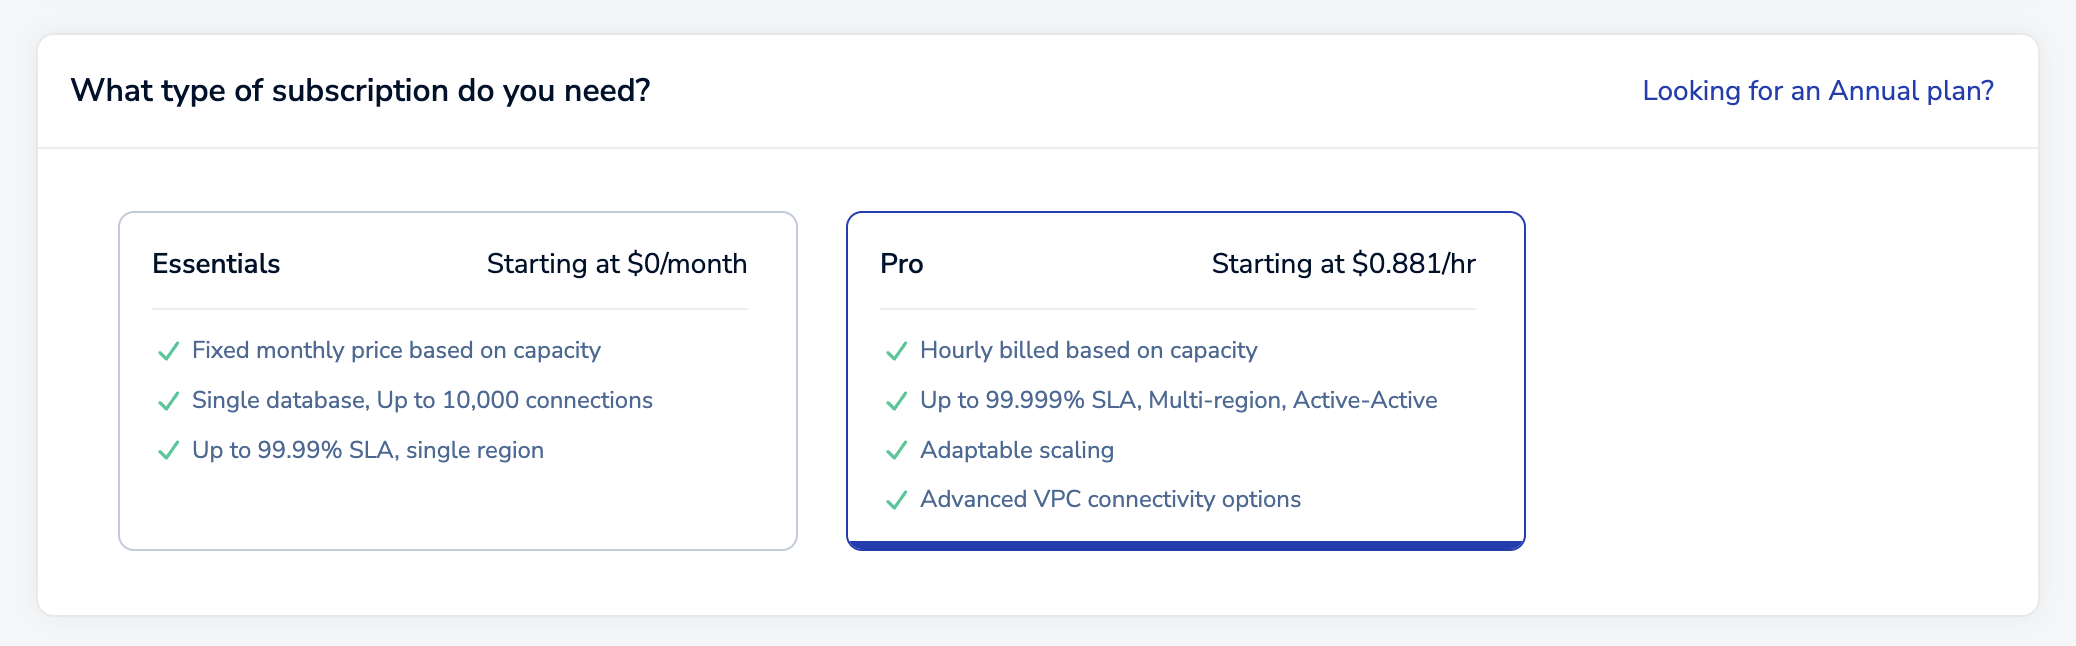 Note:This guide shows how to create an Active-Active database with a new Pro subscription. If you already have an Active-Active subscription and want to add a database to it, see Create a Pro database in an existing subscription. Active-Active subscriptions can host a maximum of 10 databases.
After you select Pro, the Database settings section will appear.
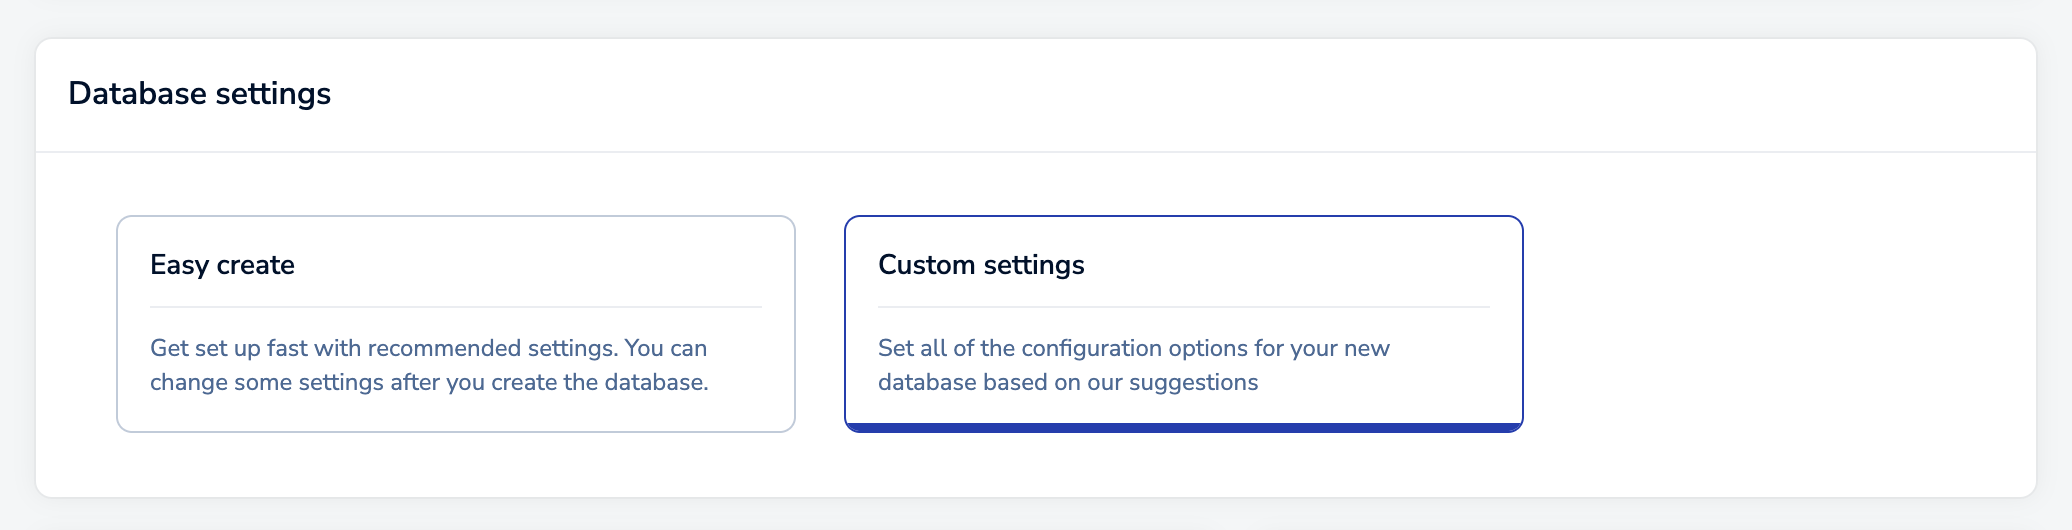
For this guide, select Custom settings. For an Active-Active database, you will need to:
-
Set up the deployment options, including cloud vendor and region details for each instance.
-
Define the database size requirements.
-
Review your choices, provide payment details, and then create your databases.
The following sections provide more information.
Set up deployment details
The Setup tab specifies general settings for your Redis deployment.

There are two sections on this tab:
- General settings include the cloud provider details and specific configuration options.
- Advanced options define settings for high availability and security. Configurable settings vary according to cloud provider.
General settings
Select Active-Active (Multi-region) to turn on Active-Active.
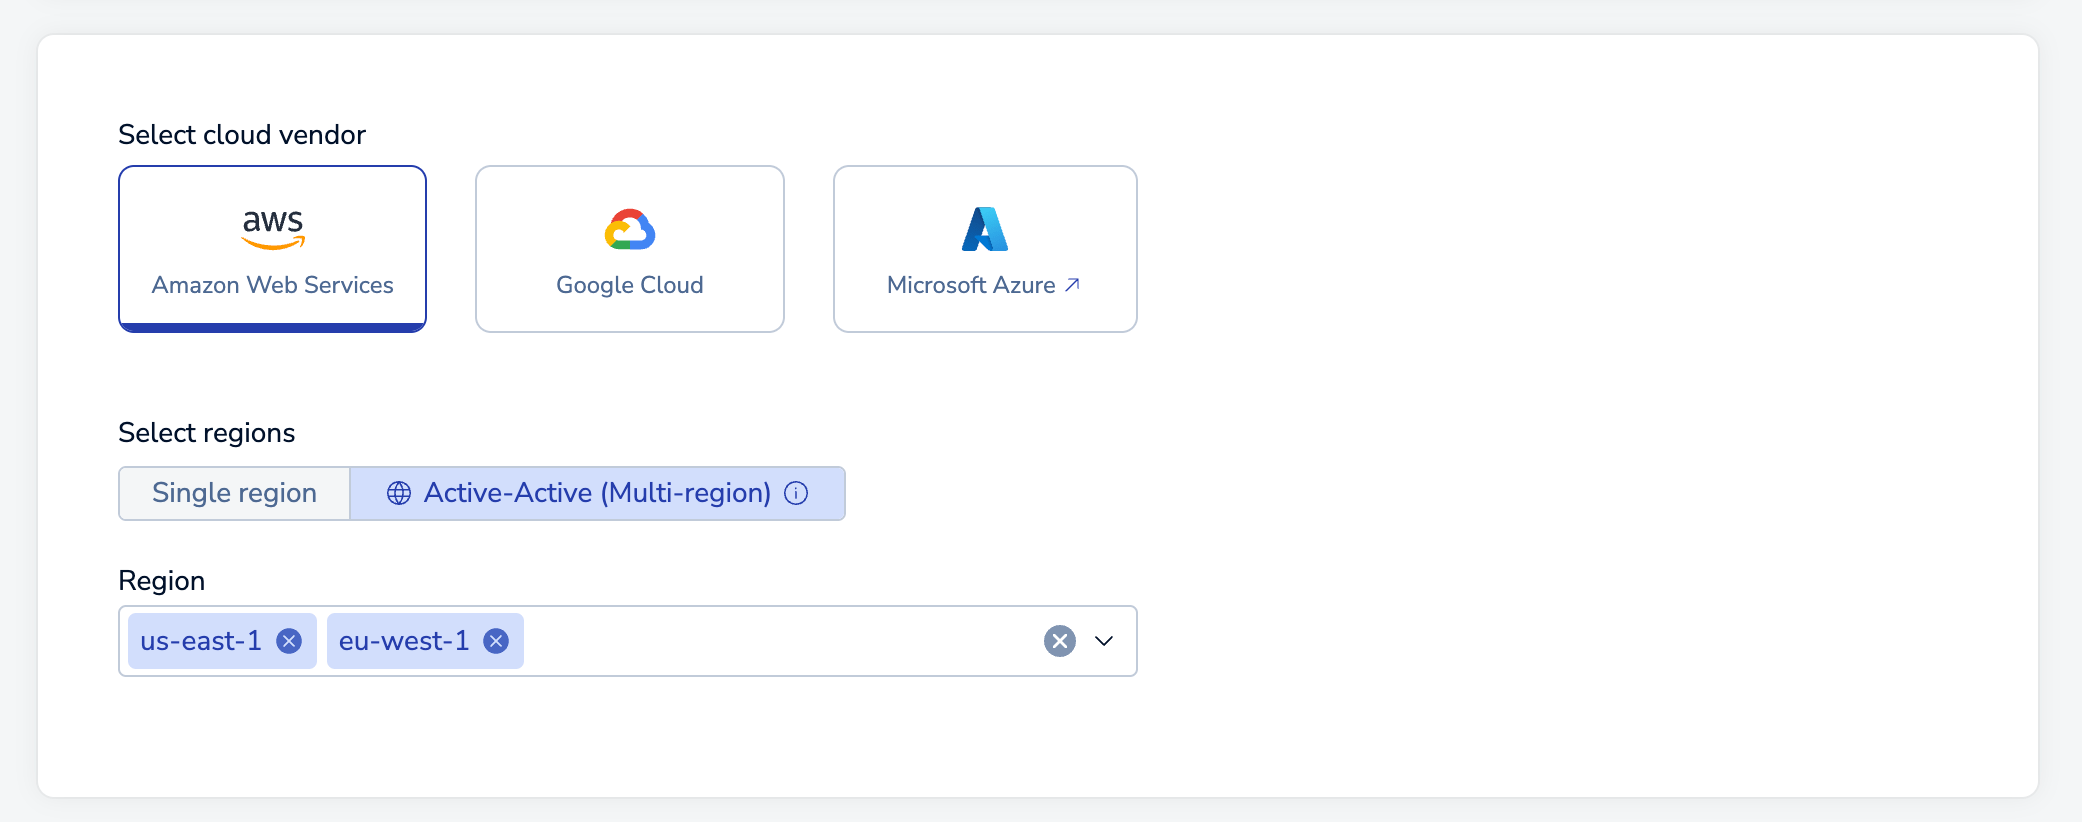
When you enable Active-Active Redis, two regions are selected by default. Select the drop-down arrow to display a list of provider regions that support Active-Active databases.
  Note:
  Active-Active subscriptions on Redis Cloud are limited to a maximum of 10 regions.
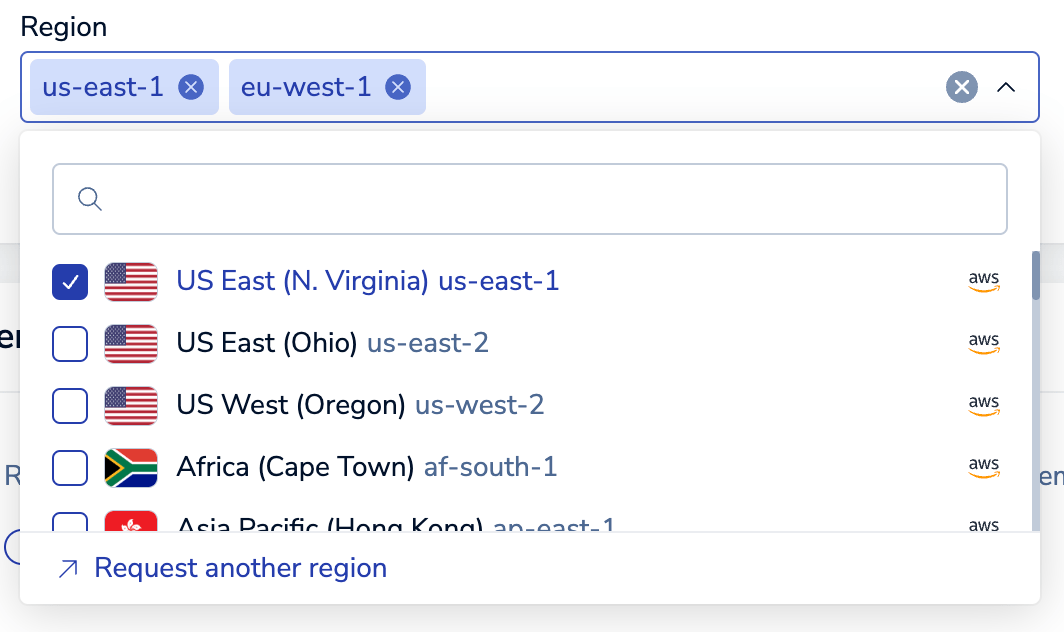
Use the checkboxes in the list to select or remove regions. The Search box lets you locate specific regions.
You can use a region's Remove button to remove it from the list.
Advanced options
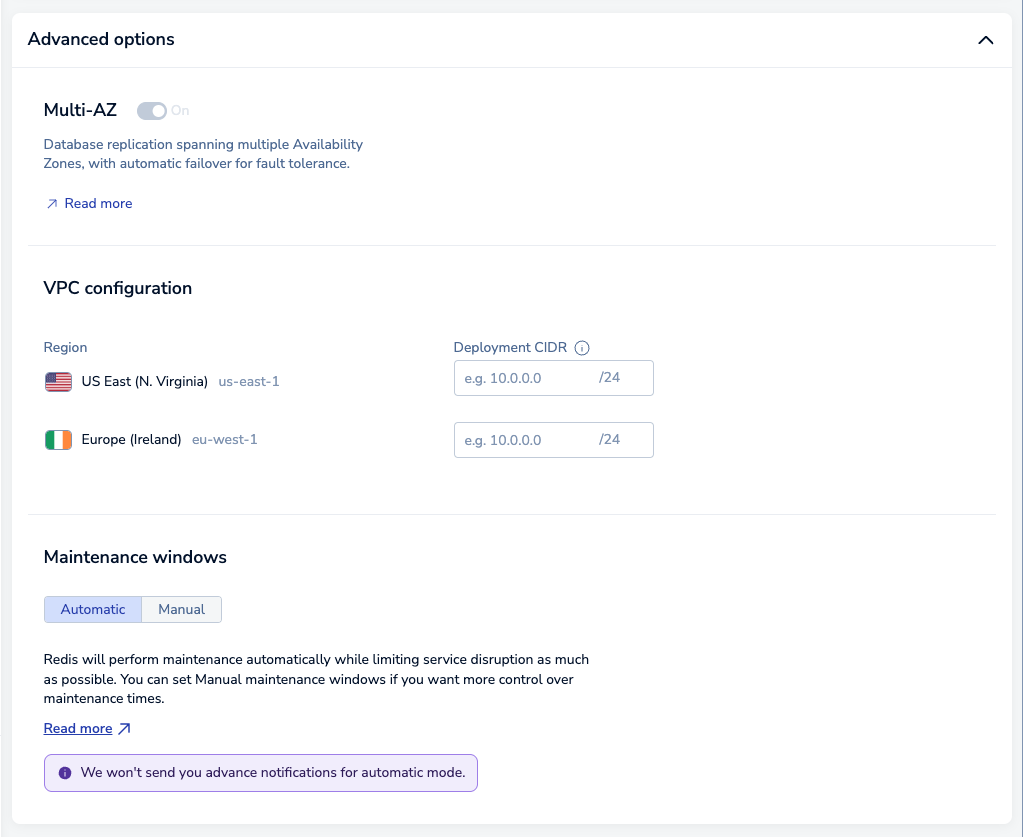
In the Advanced options section, you can:
-
Define CIDR addresses for each region in the VPC configuration section.
Every CIDR should be unique to properly route network traffic between each Active-Active database instance and your consumer VPCs. The CIDR block regions should not overlap between the Redis server and your app consumer VPCs. In addition, CIDR blocks should not overlap between cluster instances.
When all Deployment CIDR regions display a green checkmark, you're ready to continue.

Red exclamation marks indicate error conditions; the tooltip provides additional details.

-
Set your maintenance settings in the Maintenance windows section. Select Manual if you want to set manual maintenance windows.
When finished, choose Continue to determine your size requirements.

Sizing tab
The Sizing tab helps you specify the database, memory, and throughput requirements for your subscription.
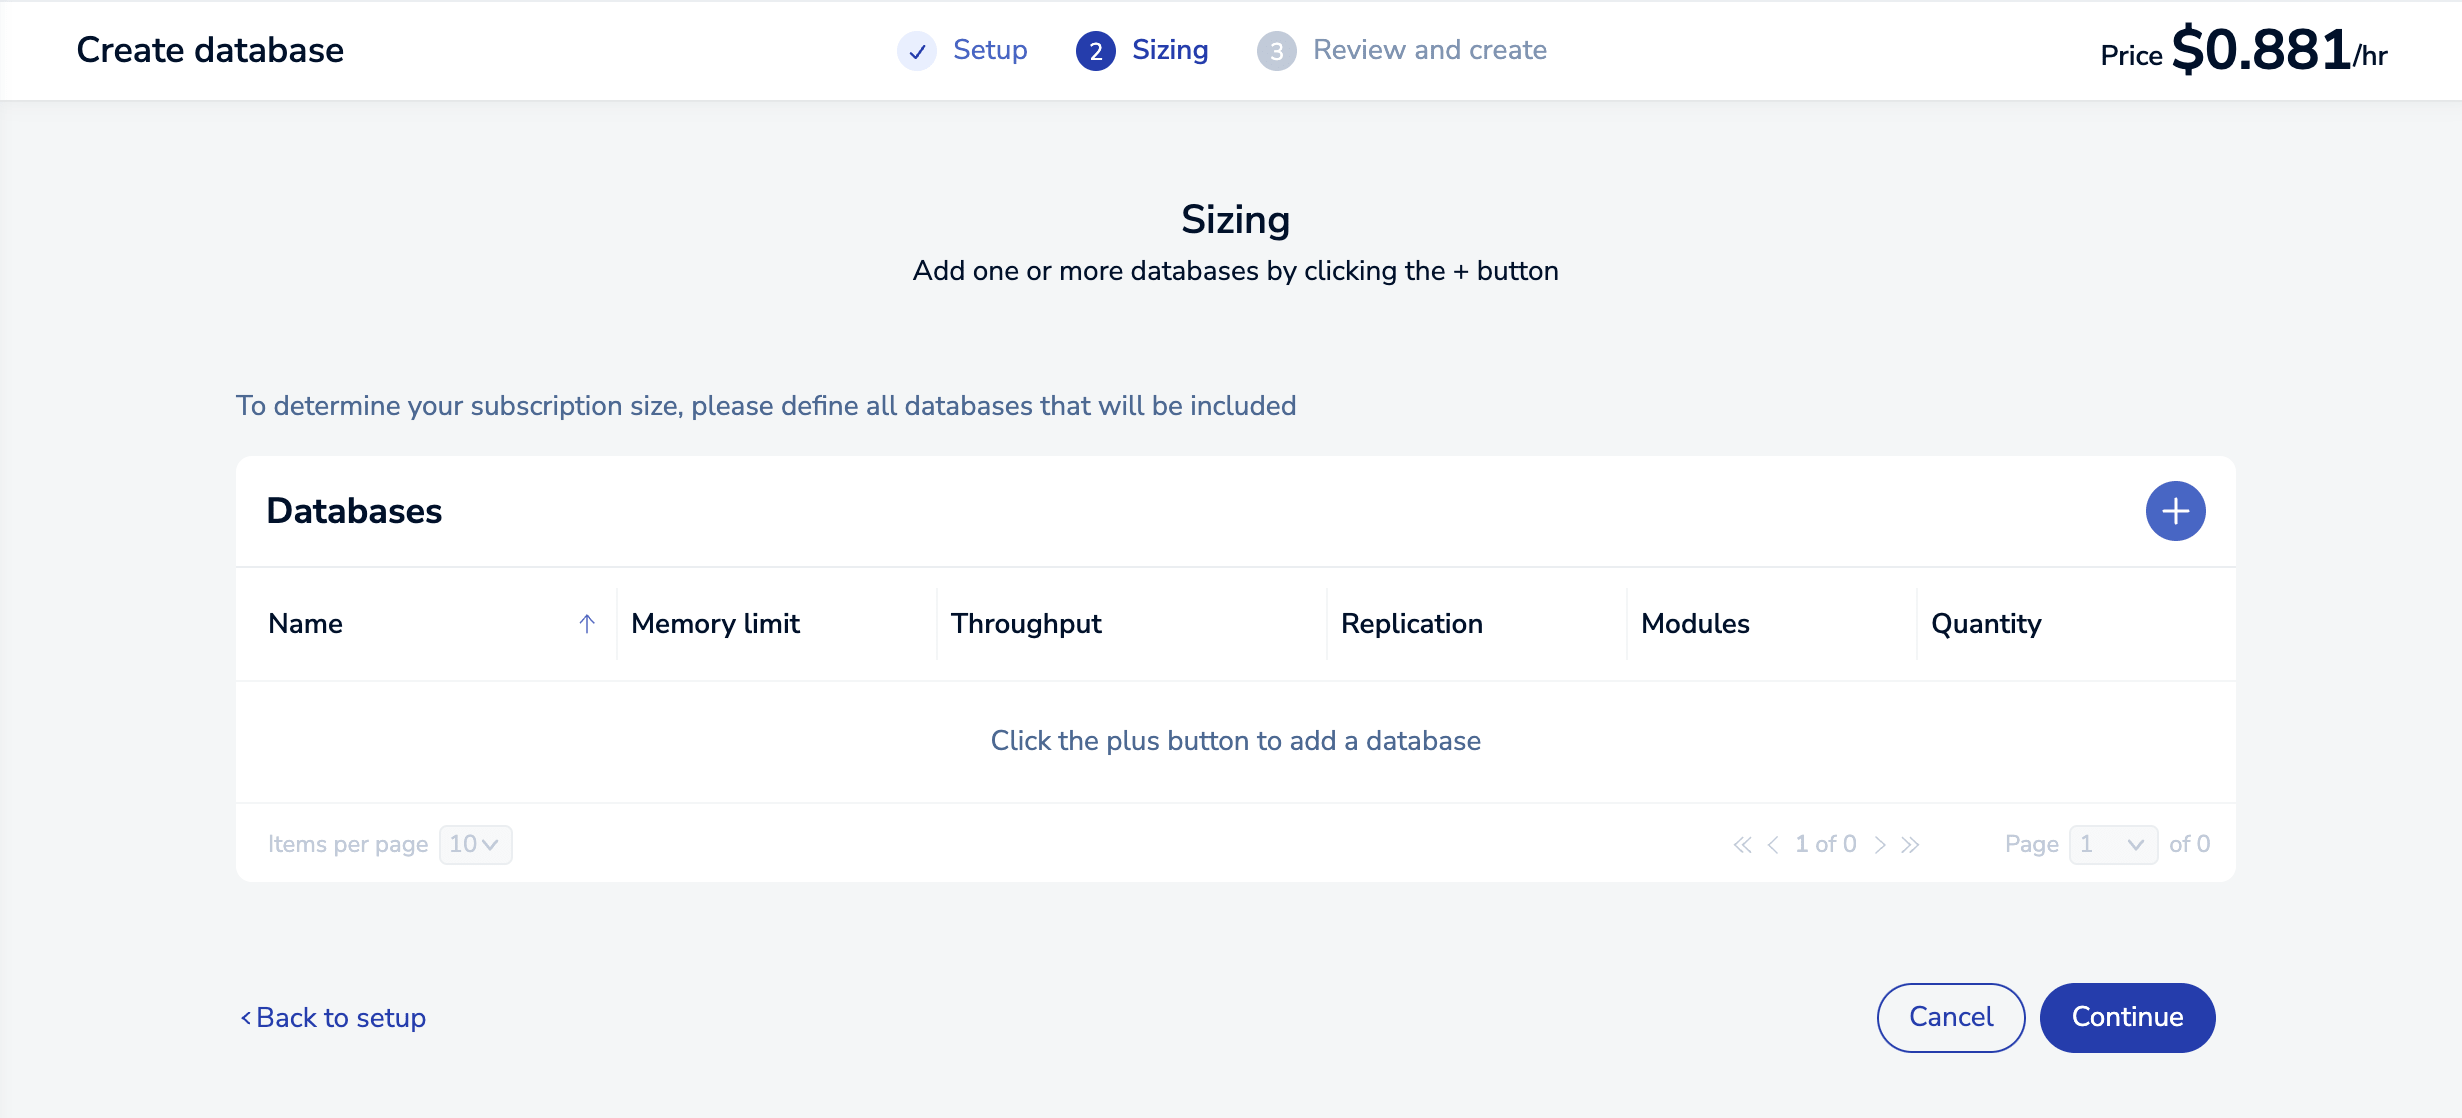
When you first visit the Sizing tab, there are no databases defined. Select the Add button to create one.
This opens the New Active-Active Redis Database dialog, which lets you define the requirements for your new database.
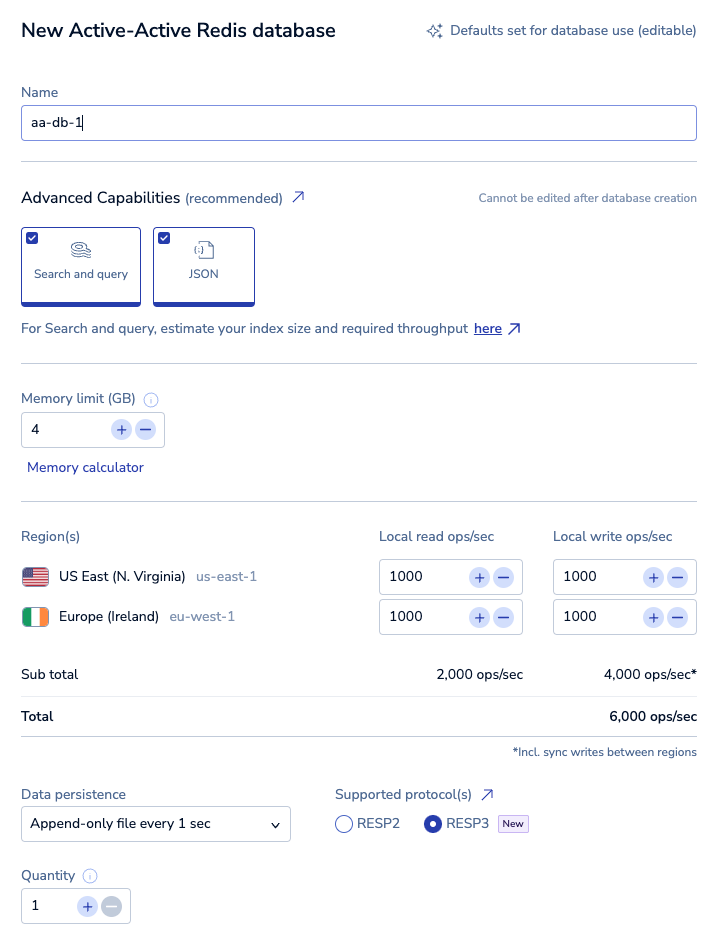
By default, you're shown basic settings, which include:
-
Name: A custom name for your database.
-
Version: The Redis version for your database. We recommend you choose the latest available version.
-
Advanced Capabilities: Advanced data types or features used by the database. Active-Active databases support the JSON data type and Search and query features.
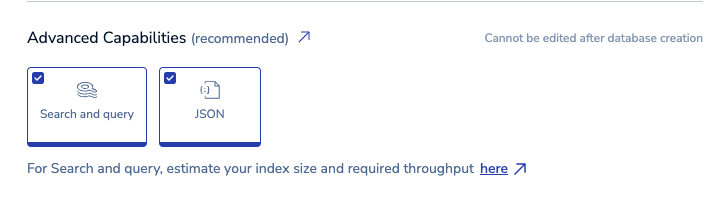
We select both capabilities for you automatically. You can remove a capability by selecting it. Selected capabilities will be available in all regions, including those added in the future.
See Search and query Active-Active databases to learn how to use Search and query on Active-Active databases.
-
Dataset size: The amount of data needed for your dataset in GB.
For Search and query databases, use the Sizing calculator to estimate your index size and throughput requirements. When you're entering the dataset size for your database, add the estimated index size from the Sizing calculator to your expected dataset size.
-
Hashing policy: Determines how data is distributed across multiple Redis processes of a database. Available options depend on your account creation date. See Clustering for more information.
-
Throughput: When you create an Active-Active database, you define the throughput for each instance. The total operations per second combines the total read ops/sec and applies the write ops/sec for each region across every region.
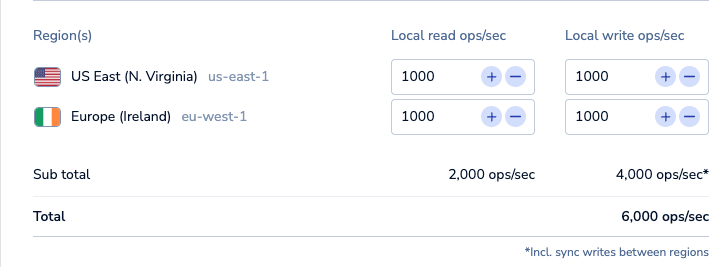
Because each instance needs the ability to write to every other instance, write operations significantly affect the total, as shown in the following table:
Number of regions Read operations Write operations Total operations Two 1,000 each 1,000 each 6,000
(2,000 reads; 4,000 writes)Two 1,500 each 1,000 each 7,000
(3,000 reads; 4,000 writes)Two 1,000 each 1,500 each 8,000
(2,000 reads; 6,000 writes)Three 1,000 each 1,000 each 12,000
(3,000 reads; 9,000 writes)For Search and query databases, the estimated throughput from the Sizing calculator is the total amount of throughput you need. When setting throughput for your Active-Active database, use the total amount for each region and divide it depending on your read (query) and write (update) needs for each region. For example, if the total amount of throughput needed is 50000 ops/sec, you could set each region to have 20000 ops/sec for reads (queries) and 30000 ops/sec for writes (updates).
-
Data Persistence: Defines the data persistence policy, if any. See Database persistence.
-
Supported Protocol(s): Choose between RESP2 and RESP3 (Redis 7.2 only). See Redis serialization protocol for details.
-
Quantity: Number of databases to create with these settings.
When finished, select Save configuration to save your database configuration.

Use the Add database button to define additional databases or select the Continue button to display the Review and create tab.
Hover over a database to see the Edit and Delete icons. You can use the Edit icon to change a database or the Delete icon to remove a database from the list.
![]()
![]()
Review and Create tab
The Review and Create tab provides a cost estimate for your Redis Cloud Pro plan:

Redis breaks down your databases to Redis Billing Units (RBUs), each with their own size and throughput requirements. For more info, see Billing unit types.
The Payment methods section of this tab shows which payment method you're using for this database. Select the arrow on the top right of this section to view all available payment methods.
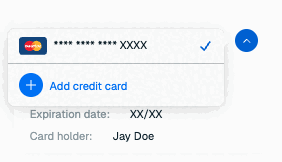
If you have not added a payment method or want to add a new payment method, select Add credit card to add a new credit card.
If you have not already added a business address to your account, you must enter one. Redis uses your business address for communication, invoicing, and tax purposes.
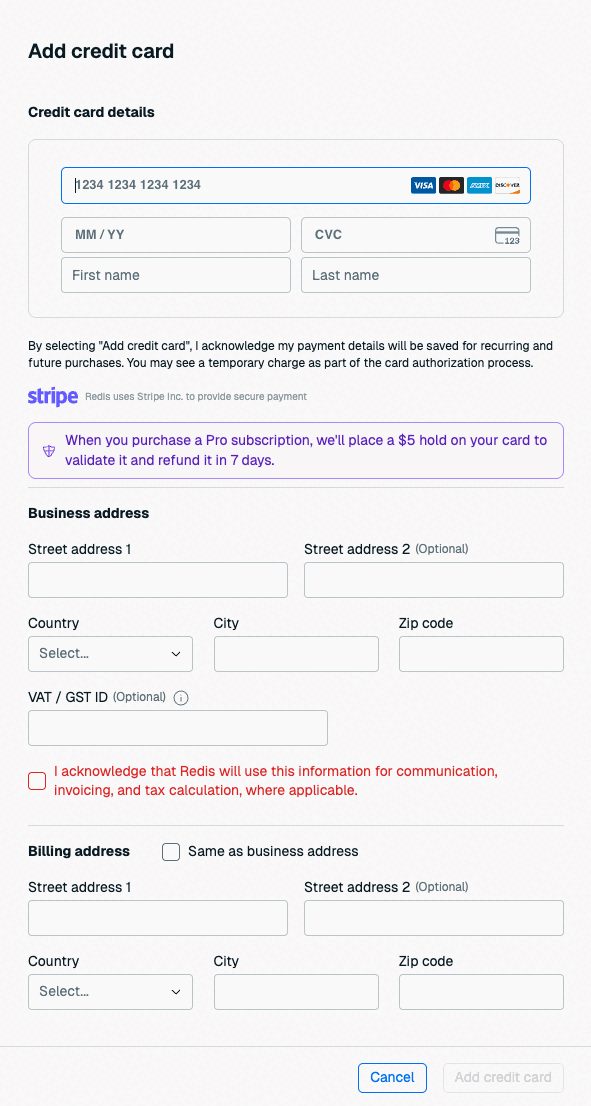
If you already have a business address, you don't need to enter one here. See Account settings to learn how to update your business address.

If the card's billing address is the same as your account's business address, select Same as business address to fill the billing address with your business address details.
Select Back to Sizing to make changes or Confirm & Pay to create your databases.

Note that databases are created in the background. While they are provisioning, you aren't allowed to make changes. This process generally takes 10-15 minutes.
Use the Database list to check the status of your databases.